EBS 11i Fulfillment Delay application using Endeca Information Discovery
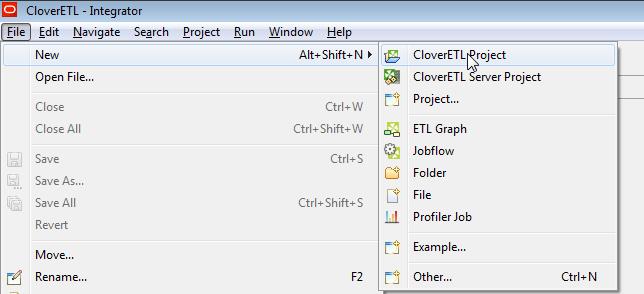
Open the Integrator application and create a new project
Create a new “CloverETL Project”
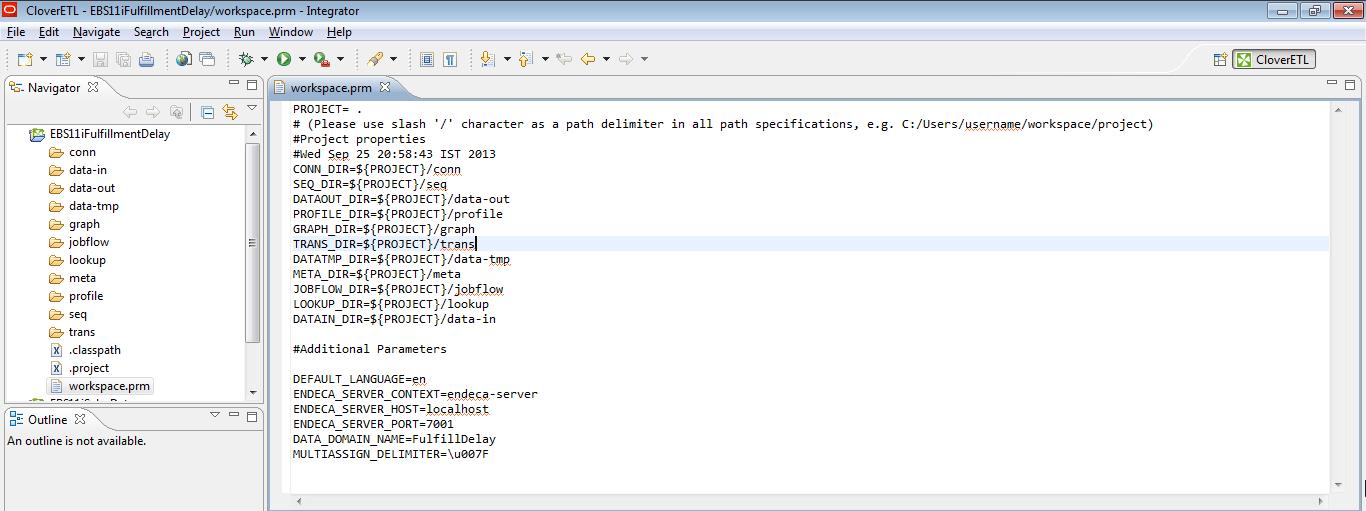
Double click on the “workspace.prm” file to add new parameters to the project
Add the following parameters change the values as per the environment
#Additional Parameters
DEFAULT_LANGUAGE=en
ENDECA_SERVER_CONTEXT=endeca-server
ENDECA_SERVER_HOST=localhost
ENDECA_SERVER_PORT=7001
DATA_DOMAIN_NAME=FulfillDelay
MULTIASSIGN_DELIMITER=\u007F
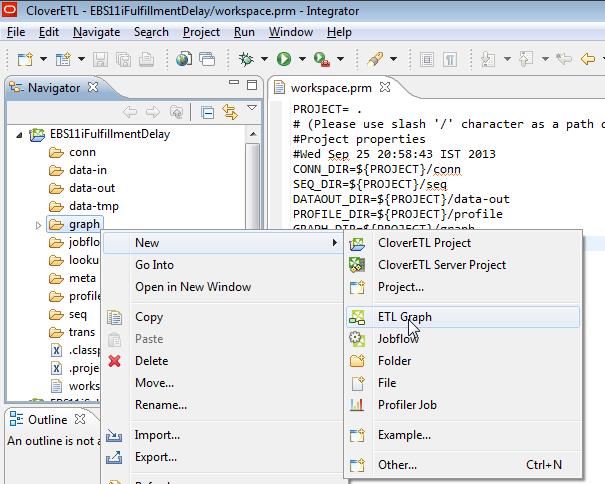
Create a new graph, name it as “CreateDomain”
This will create the required data domain on the Weblogic server for the application, domain name will be read from the parameters file
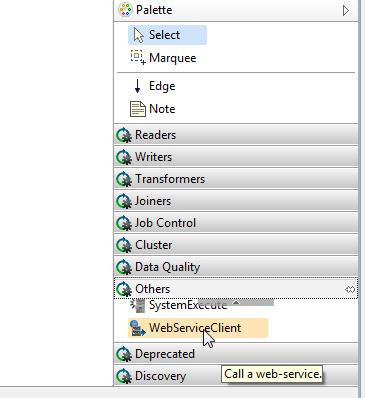
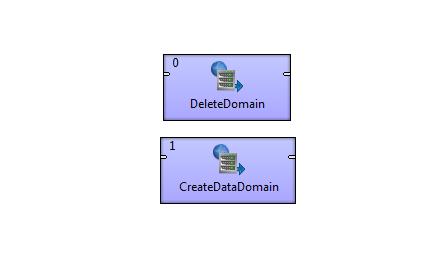
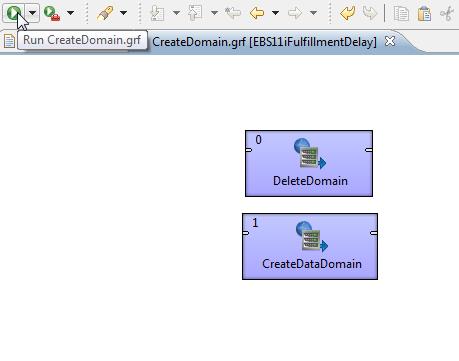
Add two web service client components to the graph and name then as Delete Domain and Create Data Domain
Set the phase = 1 for the create data domain (right click -> set phase)
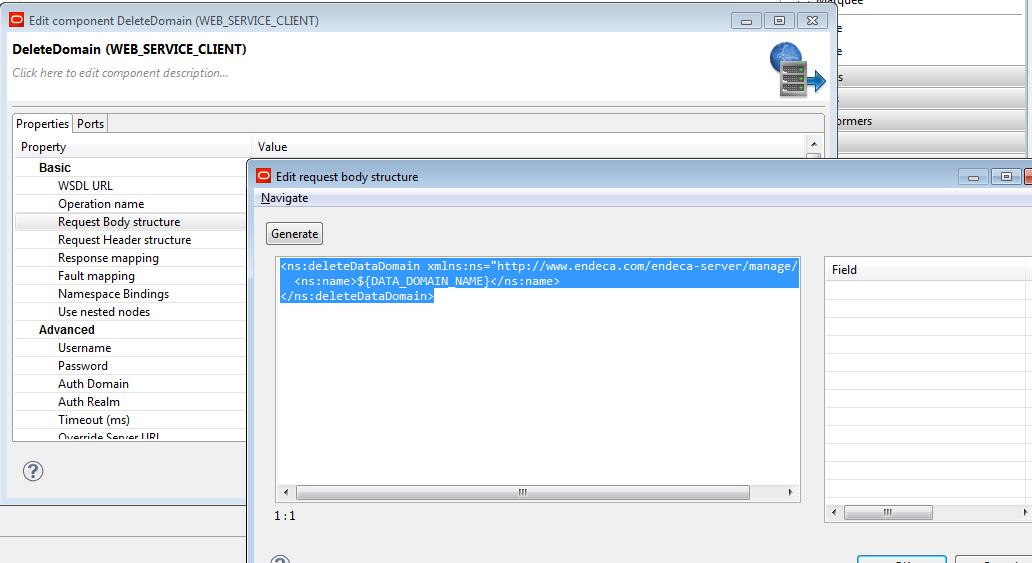
Double click on the Delete Domain component
In the WSDL URL enter: http://localhost:7001/endeca-server/ws/manage?wsdl
Click on the text box for Operation name and select “delete DataDomain”
In the Request Body Structure enter the following
<ns:deleteDataDomain xmlns:ns=”http://www.endeca.com/endeca-server/manage/1/0″>
<ns:name>${DATA_DOMAIN_NAME}</ns:name>
</ns:deleteDataDomain>
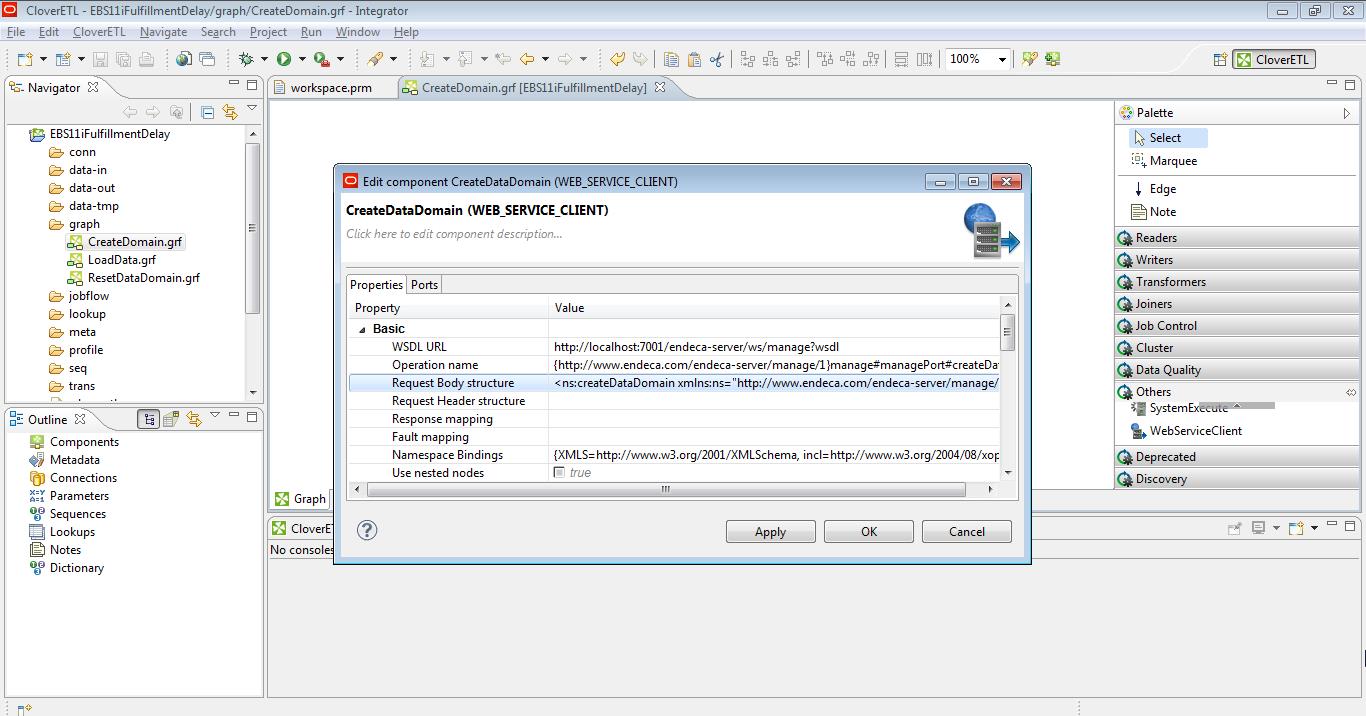
Similarly for create data domain, enter the same WSDL URL
Select Operation name as createData Domain
And in the request body paste the following
<ns:createDataDomain xmlns:ns=”http://www.endeca.com/endeca-server/manage/1/0″>
<ns:name>${DATA_DOMAIN_NAME}</ns:name>
<!–Optional:–>
<ns:ddProfileName>default</ns:ddProfileName>
<!–Optional:–>
<ns:enabled>true</ns:enabled>
</ns:createDataDomain>
Note: Please make sure the “<ns:enabled>true</ns:enabled>” has “true” value, by default this could be false.
Run the graph to create the data domain
Create a new graph for Load Data domain
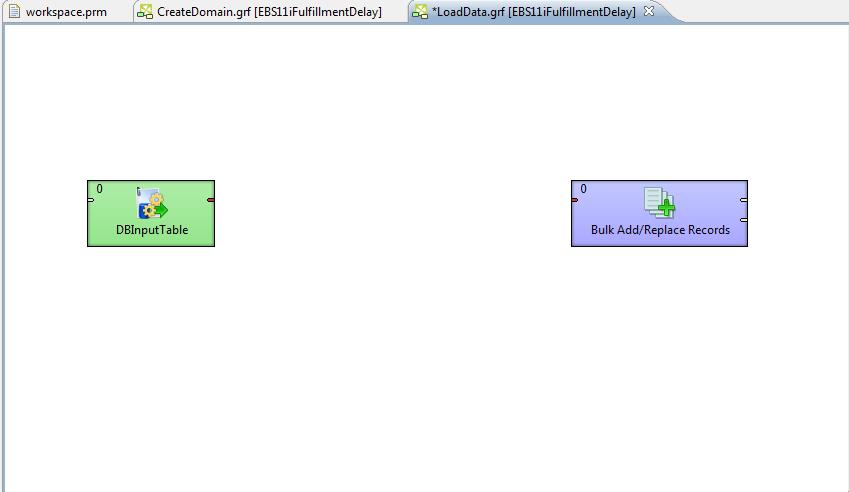
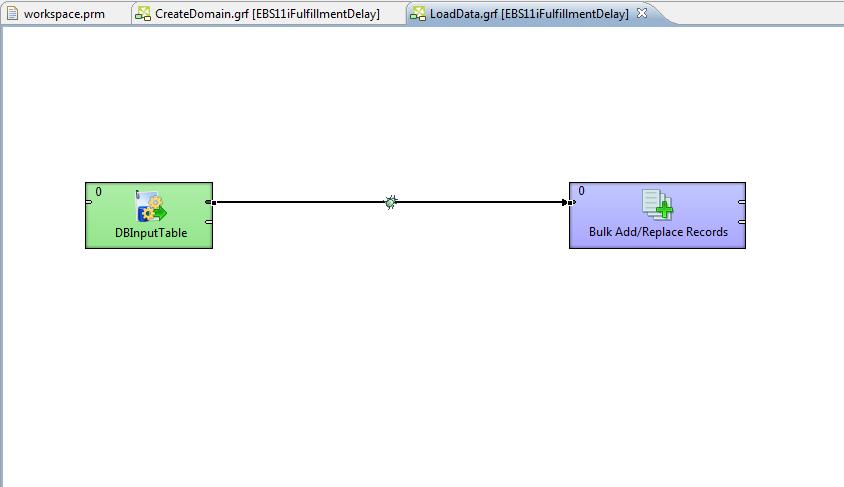
Add two components
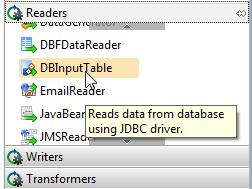
DB input table
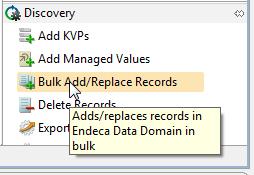
And Bulk Add/Replace Records
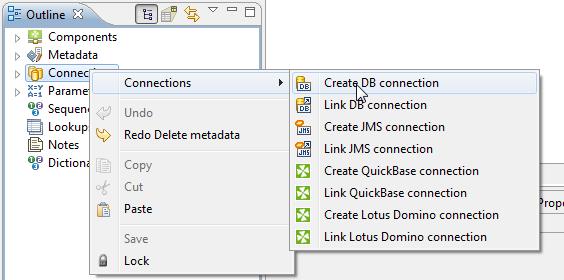
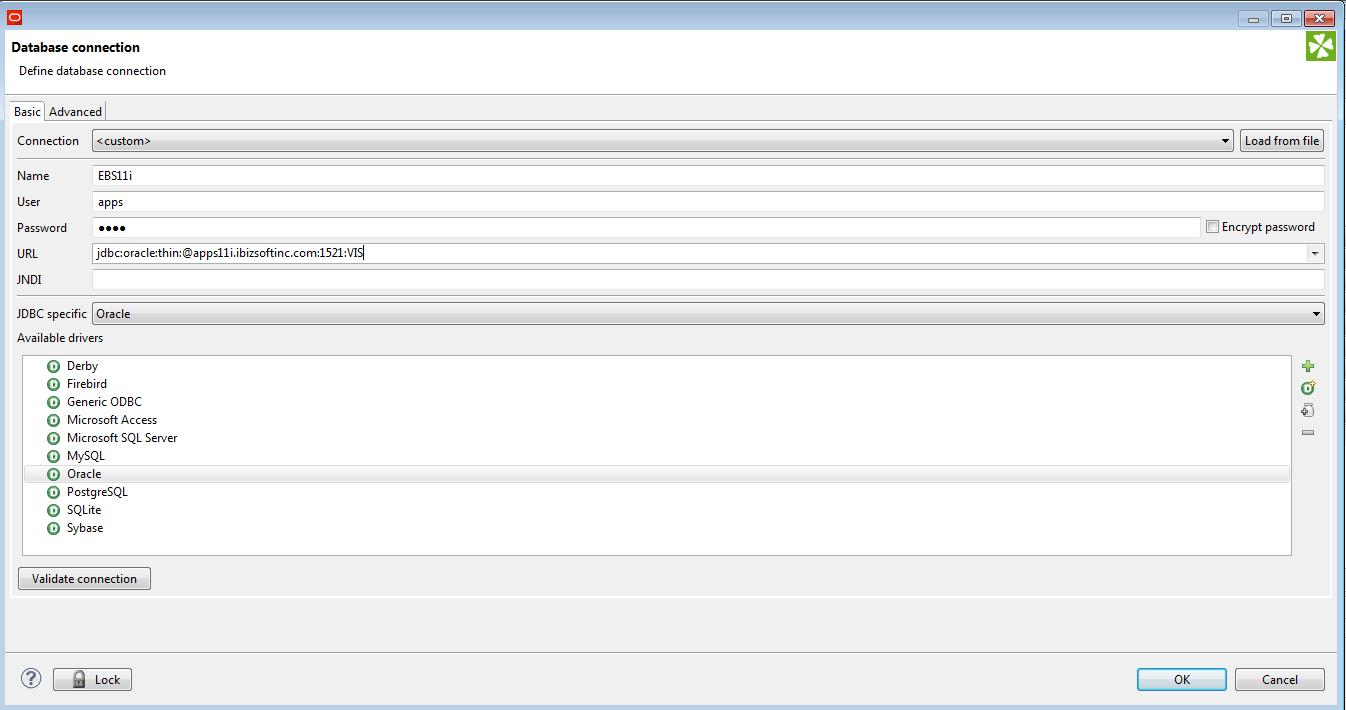
In the “Outline” window under connections, add a new connection
Enter the appropriate connection details and save
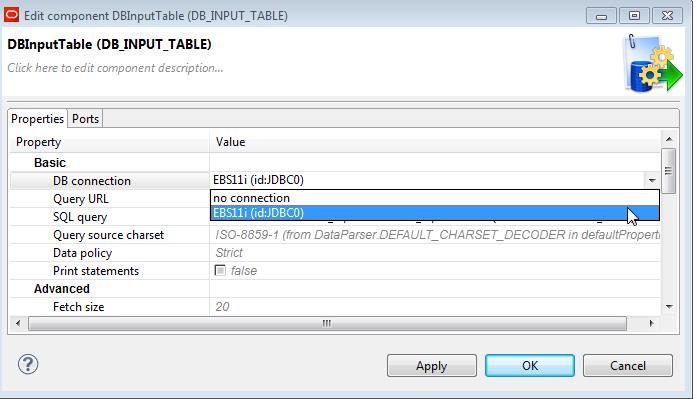
Double click on the DB Input table component
Select the DB connection
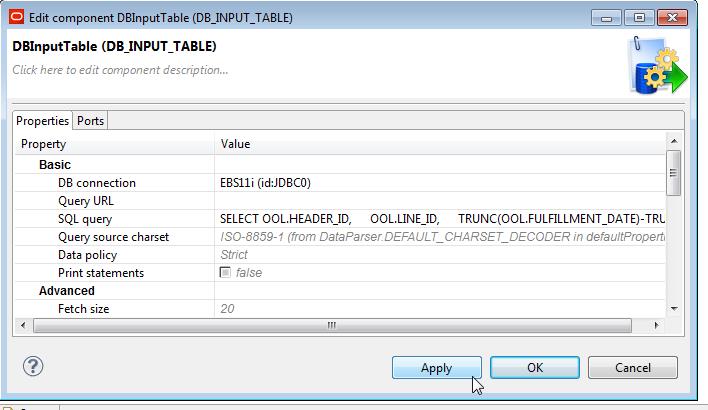
In the SQL Query enter the following
SELECT OOL.HEADER_ID,
OOL.LINE_ID,
TRUNC(OOL.FULFILLMENT_DATE)-TRUNC(PROMISE_DATE) FUL_DELAY,
OOL.UNIT_SELLING_PRICE,
OOL.CREATION_DATE ORDERED_DATE,
OOL.REQUEST_DATE,
OOL.SCHEDULE_SHIP_DATE,
OOL.ACTUAL_SHIPMENT_DATE,
OOL.FULFILLMENT_DATE,
(select segment1
FROM MTL_SYSTEM_ITEMS_B MTL
WHERE MTL.INVENTORY_ITEM_ID = OOL.INVENTORY_ITEM_ID
AND MTL.ORGANIZATION_ID =204) PRODUCT,
(SELECT DESCRIPTION
FROM MTL_SYSTEM_ITEMS_B MTL
WHERE MTL.INVENTORY_ITEM_ID = OOL.INVENTORY_ITEM_ID
AND MTL.ORGANIZATION_ID =204) PRODUCT_DESCRIPTION,
(select party_name
FROM HZ_PARTIES HP
WHERE HP.PARTY_ID = (SELECT HC.PARTY_ID
FROM HZ_CUST_ACCOUNTS HC
WHERE HC.CUSt_ACCOUNT_ID = OOL.SOLD_to_ORG_ID)
) CUSTOMER,
(SELECT ood.ORGANIZATION_NAME
FROM ORG_ORGANIZATION_DEFINITIONS OOD
WHERE OOD.ORGANIZATION_ID = ool.sold_from_org_id) warehouse
FROM oe_order_lines_all ool
, wsh_delivery_Details wdd
, wsh_new_deliveries wnd
, wsh_delivery_assignments wda
WHERE 1=1
AND wdd.source_header_id = ool.header_id
AND wdd.source_line_id = ool.line_id
AND WDA.DELIVERY_DETAIL_ID = WDD.DELIVERY_DETAIL_ID
AND WDA.DELIVERY_ID = WND.DELIVERY_ID
AND TRUNC(PROMISE_DATE) != TRUNC(OOL.FULFILLMENT_DATE)
AND TO_CHAR(OOL.CREATION_DATE,’YYYY’) BETWEEN ’2003′ AND ’2013′
AND WDD.CURRENCY_CODE = ‘USD’
order by ool.line_id desc
Create an edge from DB Input table to the Bulk Add/Replace Records
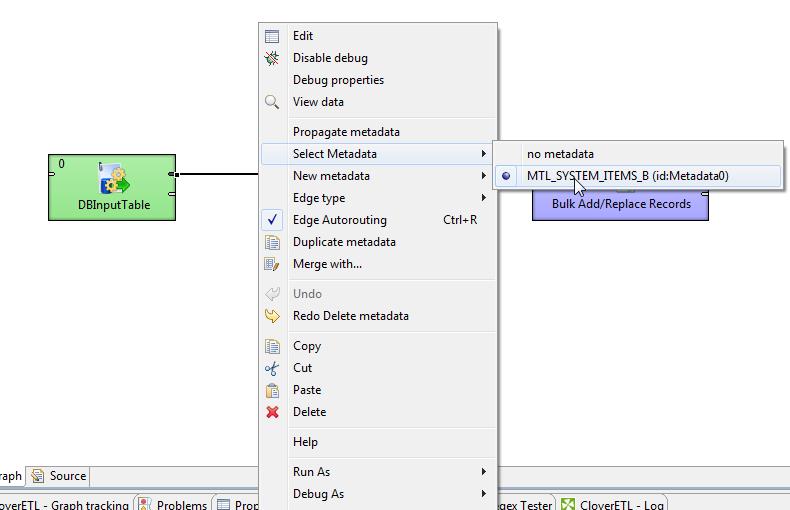
Right click on the edge and select the existing meta data created (if not present, create a new metadata using the above query)
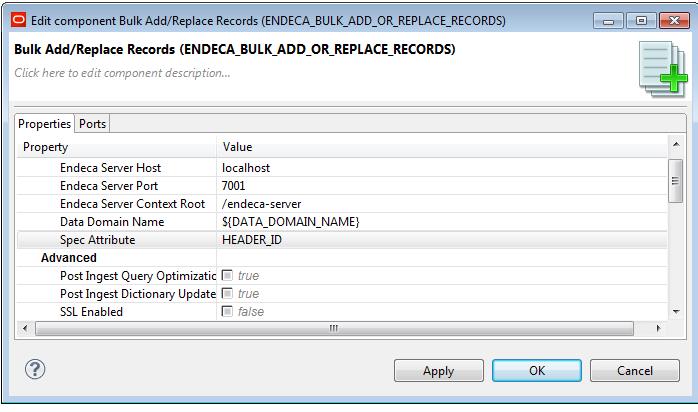
Double click on the Bulk Add/Replace Records component
In the Data Domain name enter “${DATA_DOMAIN_NAME}”
In Spec Attribute enter “HEADER_ID”
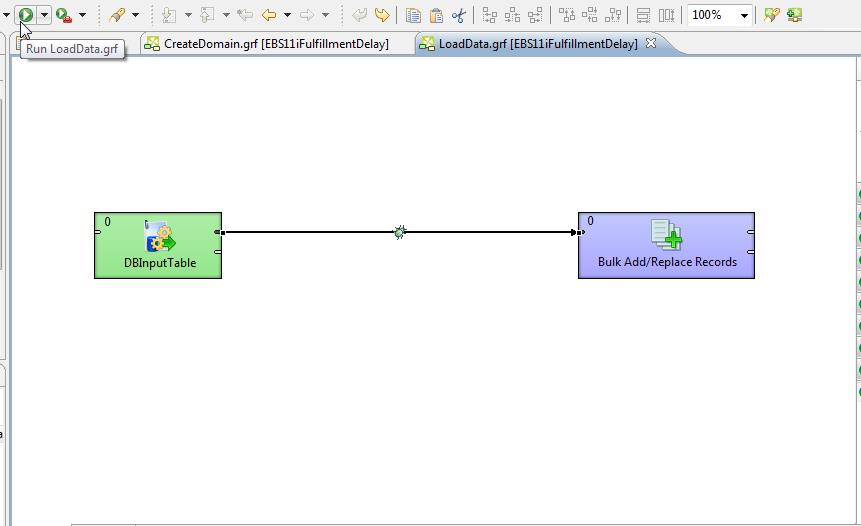
Save and run the graph to load the data into the application
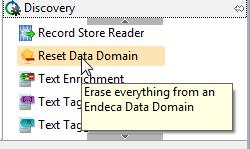
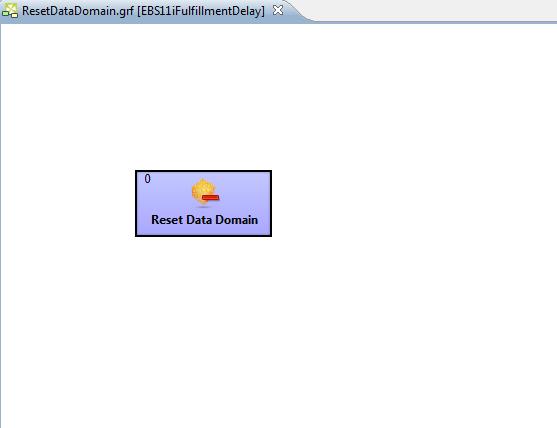
In case you want to reset the data in the data domain to load new data, create a new graph to reset the data as shown below
Please note that this step is optional
Create a new graph and add the reset data domain component
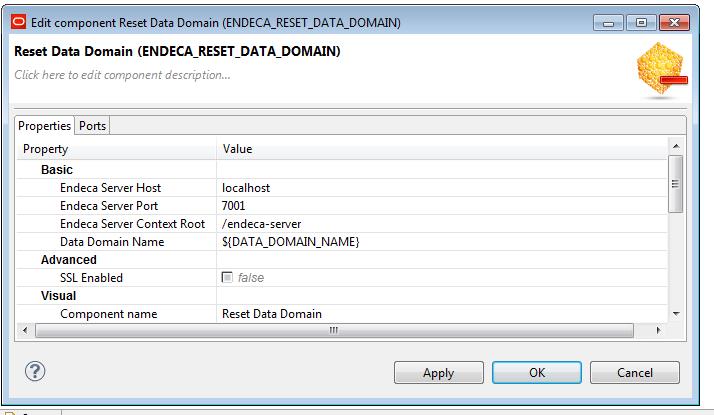
Double click on the component
Enter the values for the host and domain name as appropriate
Save and run the graph for clearing the data in the data domain
Creating the Studio Application
Login as admin in the studio application
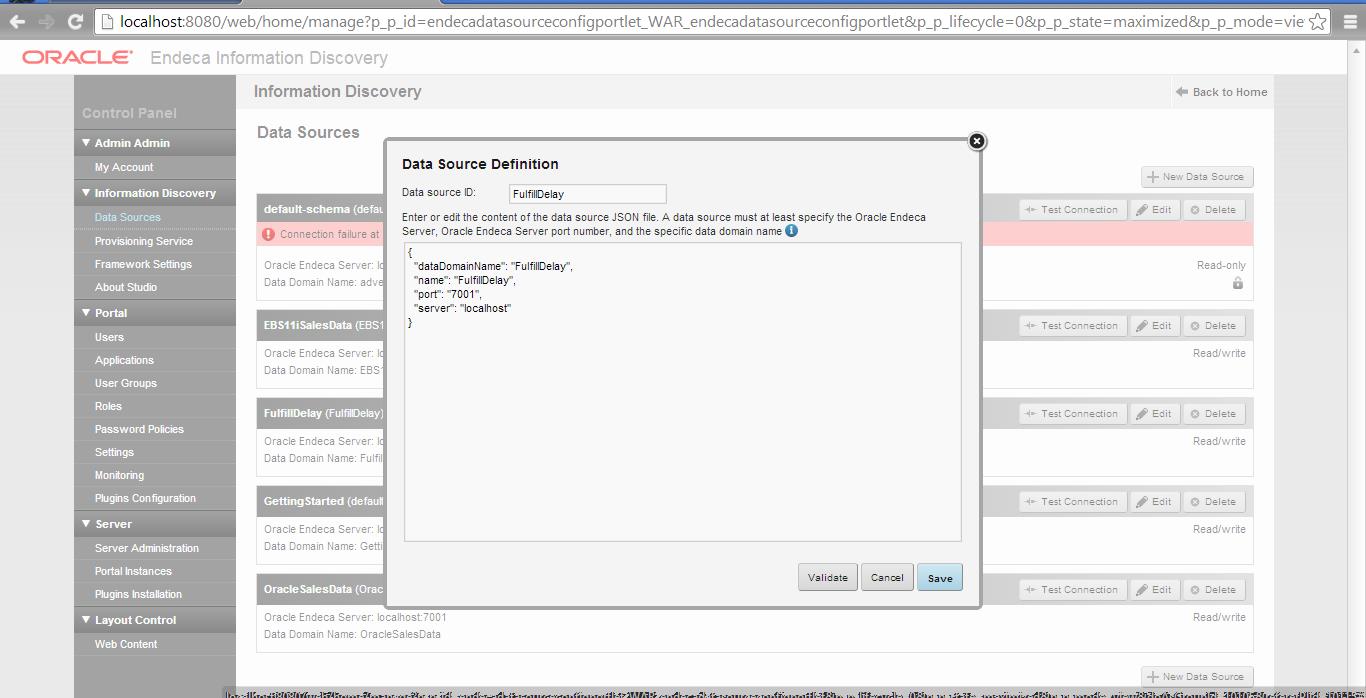
After login Navigate to control panel->Data sources
Create a new data source with the following connection string
{
“dataDomainName”: “FulfillDelay”,
“name”: “FulfillDelay”,
“port”: “7001″,
“server”: “localhost”
}
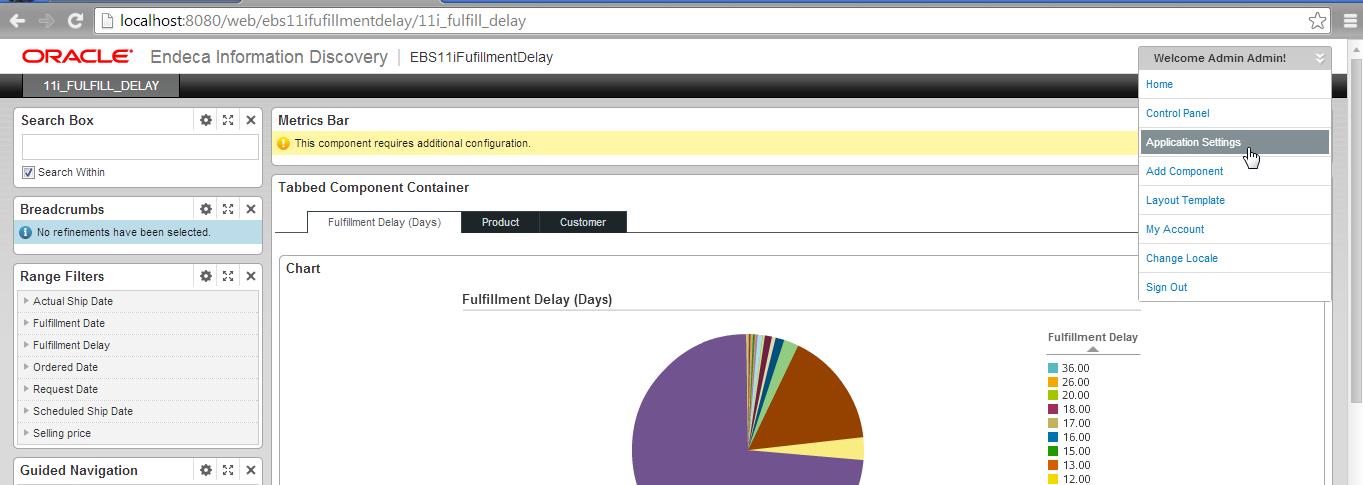
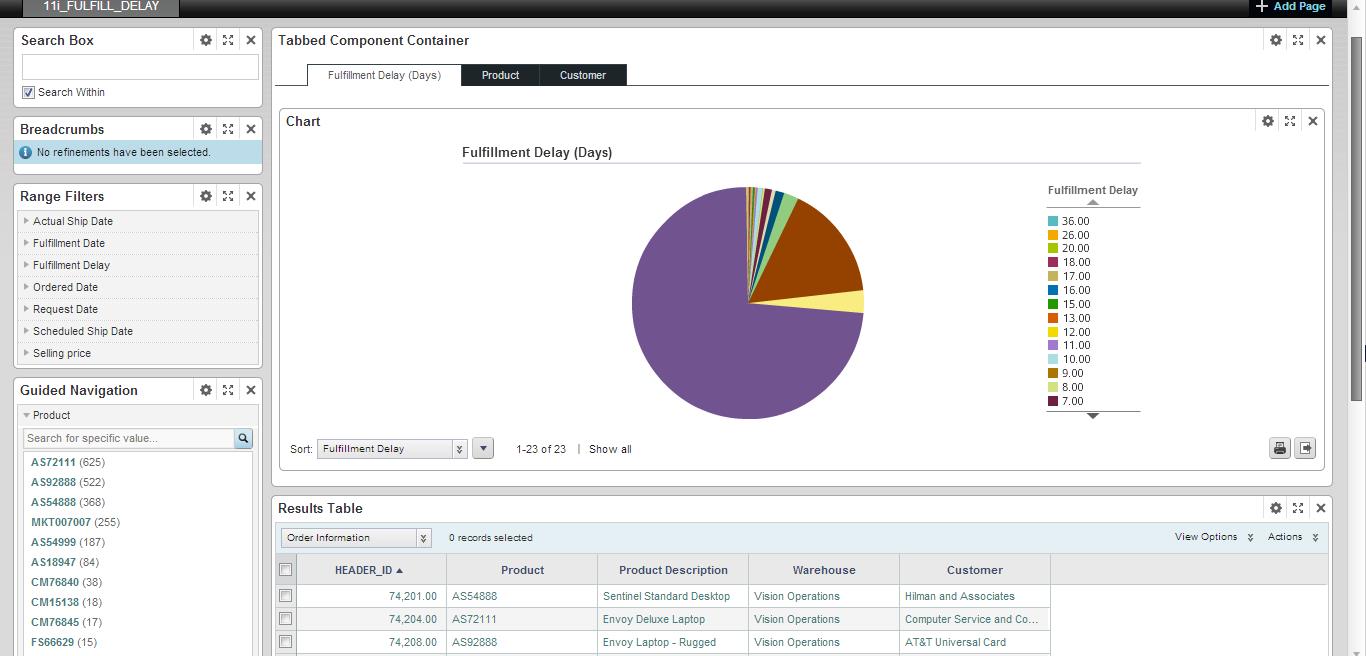
Create a new application and add the display components as shown below
Components for the left panel
- Search box
- BreadCrums
- Guide Navigation (Rename it as Range filters)
- Guide Navigation
Right Panel
- Tabbed component container
- Add three charts in the container panels
- Results table
Configure the column names as below
Navigate to Application Settings->View Manager
In the base view, rename the columns as per requirment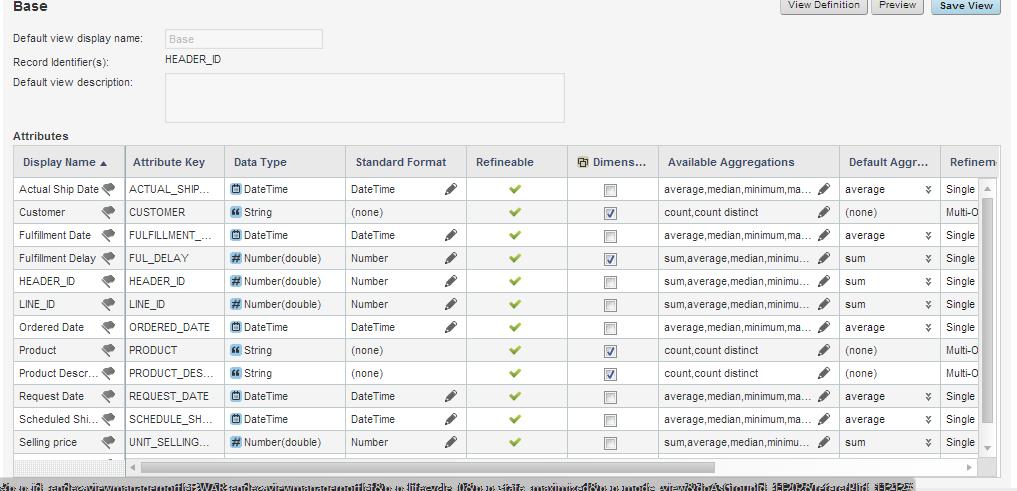
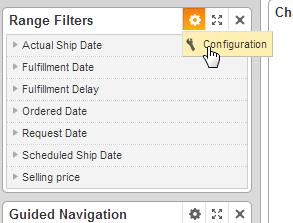
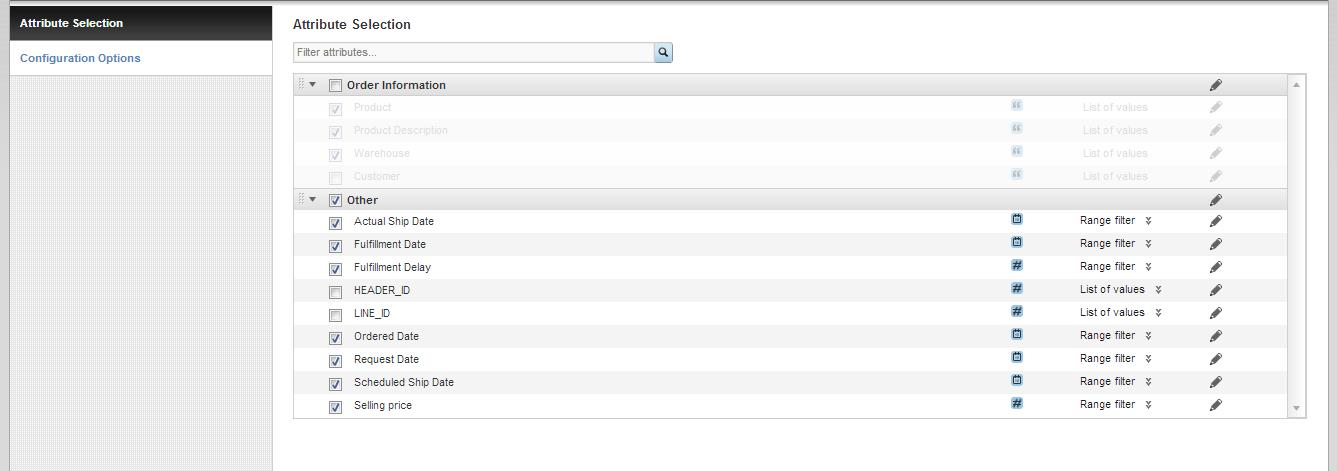
Configure the Range filer Guide navigation
Choose which attributes to display and change the type of values to “Range Filters” for the attributes to display
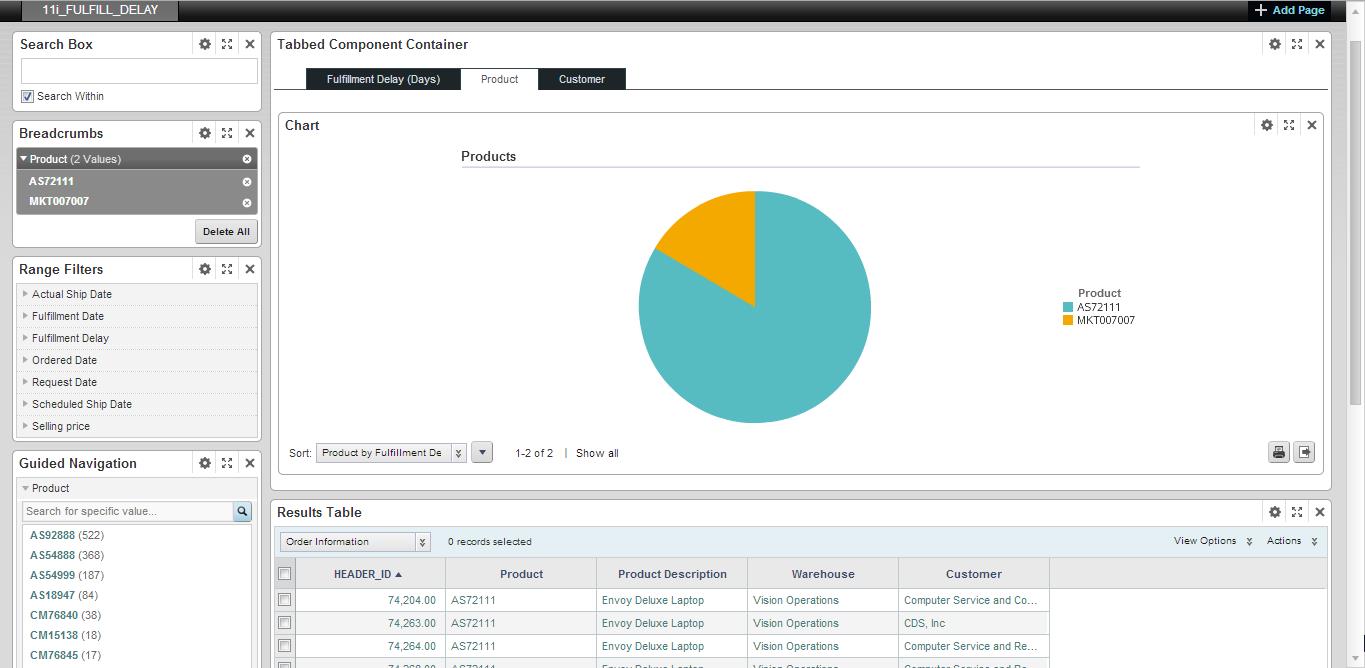
In a similar manner modify the other components to arrive at the UI design as shown below





There are no comments yet.